Shell 终端
AIO Sandbox 的 Shell 服务基于 PTY 终端,适合 REPL、交互式程序和需要真实终端行为的任务。它同时提供 REST API 和 WebSocket:REST API 适合少量终端操作,WebSocket 适合内置终端或自定义 WebTerminal。
如果需要程序化命令执行、stdout/stderr 分离,或基于 offset 的增量日志读取,优先使用 Bash 管道。
Shell vs Bash
| Shell (/v1/shell) | Bash 管道 (/v1/bash) |
|---|
| 交互模型 | PTY 终端 | subprocess pipe |
| 输出 | 单一 output 字段 | 分离的 stdout / stderr |
| 读取 | wait + view 全量快照 | /output + offset 增量读取 |
| 输入 | 终端输入事件 | stdin pipe |
| 推荐场景 | WebTerminal、REPL、交互式程序 | Agent 工具调用、程序化命令执行 |
常见使用模式
一次性执行
最简单的用法是不指定 id,服务会自动创建会话并执行命令:
curl -X POST http://localhost:8080/v1/shell/exec \
  -H "Content-Type: application/json" \
  -d '{"command": "printf shell-doc-ok"}'
典型响应:
{
  "success": true,
  "data": {
    "session_id": "SESSION_ID",
    "command": "printf shell-doc-ok",
    "status": "completed",
    "output": "shell-doc-ok",
    "exit_code": 0
  }
}
适合简单命令、无状态查询和一次性脚本执行。
复用会话
一次执行会返回 session_id。后续请求带上这个 id 时,会继续使用同一个 Shell session;工作目录和环境变量会在该 session 内保持:
SESSION_ID=$(curl -s -X POST http://localhost:8080/v1/shell/exec \
  -H "Content-Type: application/json" \
  -d '{"command": "cd /tmp && export DEMO_FLAG=hello"}' | jq -r ".data.session_id")

curl -X POST http://localhost:8080/v1/shell/exec \
  -H "Content-Type: application/json" \
  -d '{"id": "'"${SESSION_ID}"'", "command": "pwd && echo $DEMO_FLAG"}'
适合多步骤构建、需要保持目录和环境变量上下文的工作流。
异步执行
对于耗时命令,使用 async_mode 立即返回,再用 wait 判断状态、用 view 查看完整 session 快照:
SESSION_ID=$(curl -s -X POST http://localhost:8080/v1/shell/exec \
  -H "Content-Type: application/json" \
  -d '{
    "command": "sleep 3; echo done",
    "async_mode": true
  }' | jq -r ".data.session_id")

curl -X POST http://localhost:8080/v1/shell/wait \
  -H "Content-Type: application/json" \
  -d '{"id": "'"${SESSION_ID}"'", "seconds": 5}'

curl -X POST http://localhost:8080/v1/shell/view \
  -H "Content-Type: application/json" \
  -d '{"id": "'"${SESSION_ID}"'"}'
/v1/shell/wait 适合判断当前命令是否仍在运行,/v1/shell/view 适合获取终端快照。如果需要命令级 offset 轮询,使用 Bash 管道。
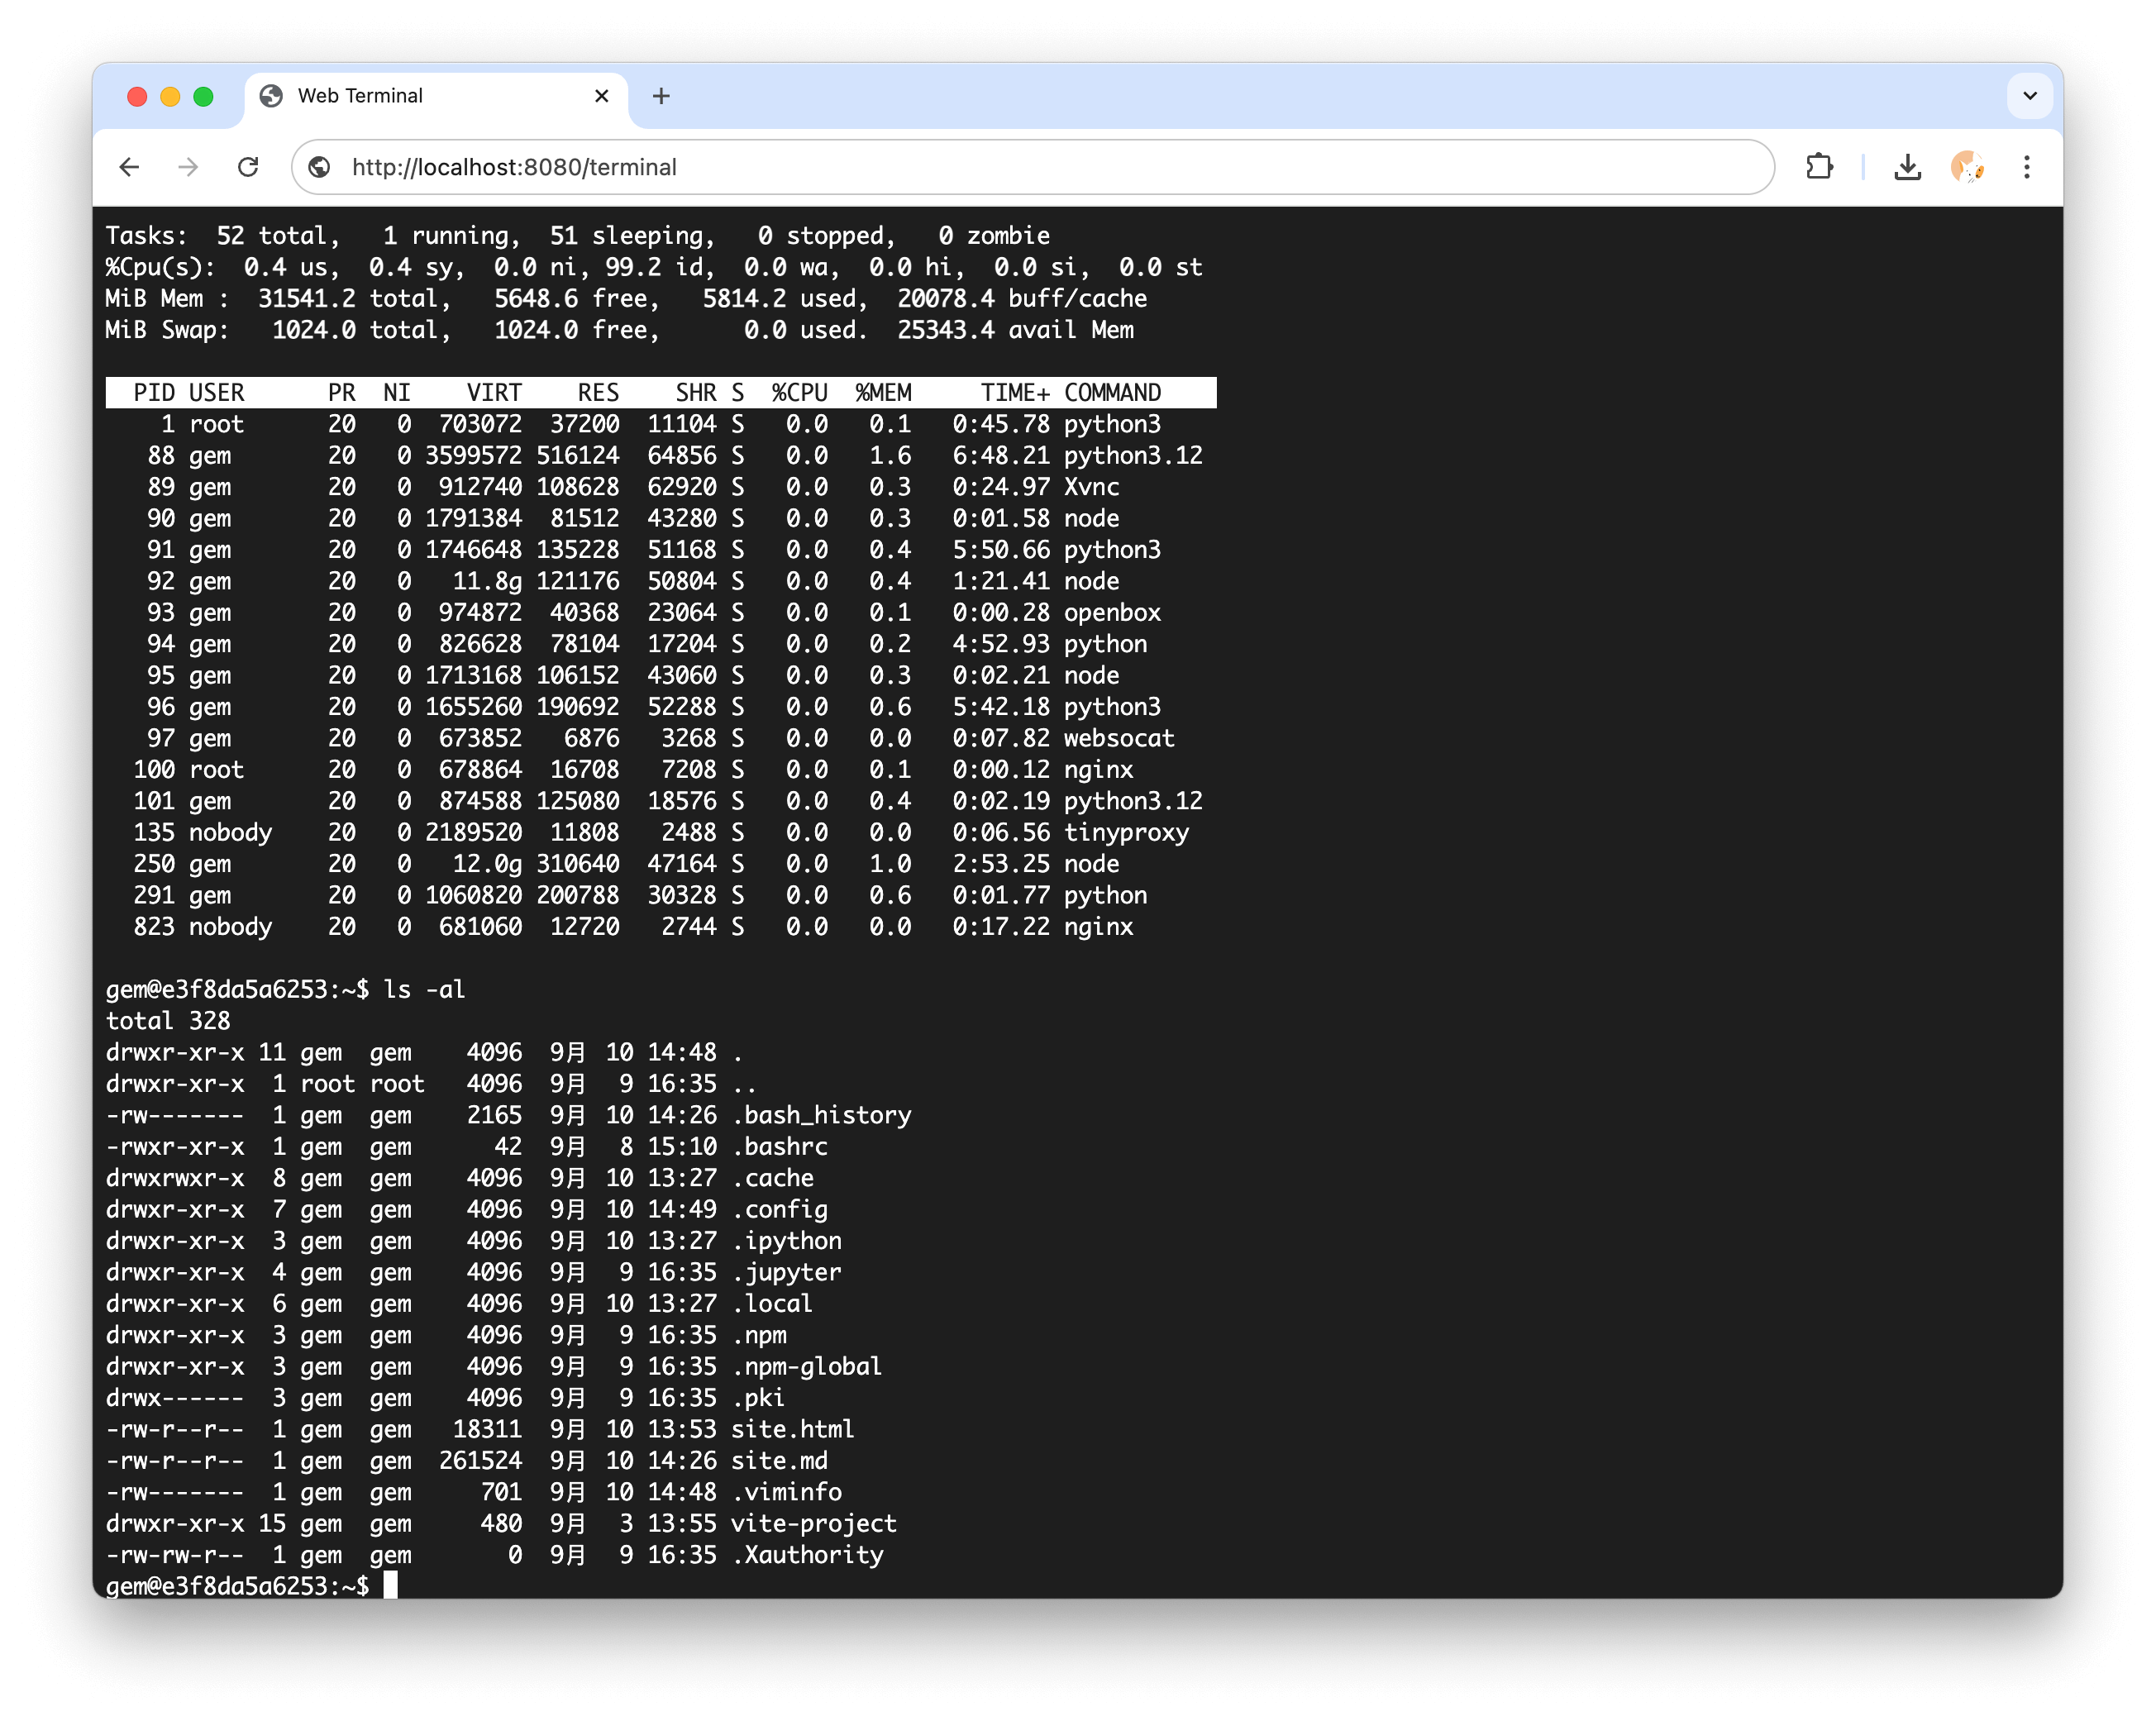
WebSocket 终端
内置终端页面:
http://localhost:8080/terminal
自定义 UI 可以连接 Shell WebSocket:
const ws = new WebSocket("ws://localhost:8080/v1/shell/ws");
常用消息:
ws.send(JSON.stringify({ type: "input", data: "ls -la\n" }));
ws.send(JSON.stringify({ type: "resize", data: { cols: 120, rows: 40 } }));

ws.onmessage = (event) => {
  const message = JSON.parse(event.data);
  if (message.type === "output") {
    terminal.write(message.data);
  }
  if (message.type === "ping") {
    ws.send(JSON.stringify({
      type: "pong",
      data: { timestamp: message.timestamp ?? message.data },
    }));
  }
};
连接成功后服务端会返回 session_id,方便 UI 标识当前终端。连接异常时建议创建新的终端会话,不要依赖重连保证历史输出完整。
需要 REPL、安装确认、脚本提示输入等强交互场景时,优先使用 WebSocket 终端。完整的 xterm.js 集成示例见 WebTerminal 集成。
文件系统集成
Shell 与文件 API、Code Server、浏览器下载和代码执行共享同一套文件系统:
curl -X POST http://localhost:8080/v1/shell/exec \
  -H "Content-Type: application/json" \
  -d '{"command": "echo \"Hello World\" > /tmp/test.txt"}'

curl -X POST http://localhost:8080/v1/file/read \
  -H "Content-Type: application/json" \
  -d '{"file": "/tmp/test.txt"}'
相关 Shell 主题